Fireworks Photography
How to get the most out of your camera on Independence Day
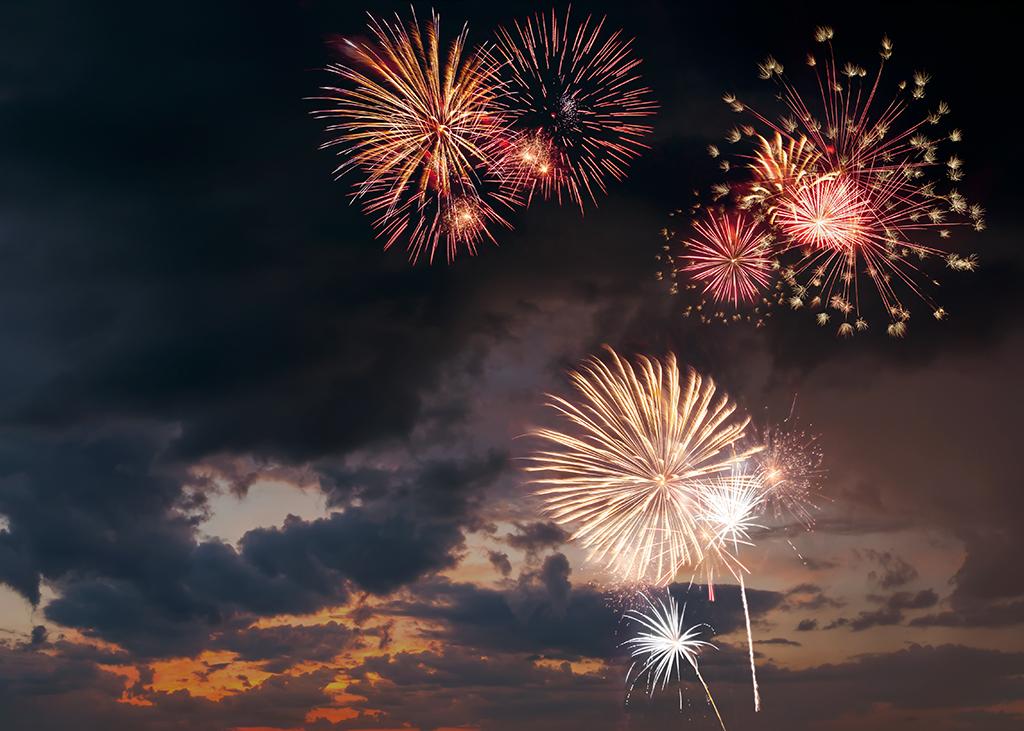
One of the most beautiful and recognizable signs of celebration, fireworks are always a treat to watch. You hear the BOOM and look skyward wondering what the next light bouquet will reveal. Intricate patterns of light and color take your breath away. You think “This is amazing, I have to capture it!”, so you grab your camera and start clicking. Excited to see your results you look at the back of the camera, press play and…what happened!? The blurry slivers of light on your camera come nowhere close to capturing what you just witnessed with your eyes.
Well, the reason your camera did not capture what you saw is complicated. Cameras do not work like our eyes do. They capture light as we tell them to, so getting the settings right becomes the most important factor in capturing fireworks as you see them with your eyes, maybe even better than your eyes see them. No matter what type of camera you use, these tips below will help you get the best out of your situation.
Use a tripod
Using a tripod is a MUST if you want detailed, accurate shots of fireworks. Depending on the size of your camera, you just need something that can stabilize your camera to avoid blurry images.
Frame the shot
Once you get your camera stabilized, move it into position so that you get a shot with only the things you want in the picture.
Use manual focus
Ever been frustrated that your camera wouldn’t take a picture because everything kept going in and out of focus? Your camera was trying to autofocus. When there is an absence of light, even the best cameras have trouble finding focus. Take this burden off your camera and put it on yourself. Switch your camera to manual focus if available. On DSLR cameras, there is typically a switch on your lens that says “AF – MF”, switch this to “MF”, and slowly move the front ring on the lens until you see one of the fireworks come into sharp focus. Point and Shoot –check to see if you have an MF function. If not you will have to live with autofocus. Cell Phone – very few cell phones have any method of manual focusing unless you purchase an app that will do this for you.
Get your settings right
You want that big plume of color, right? Well, for a camera to capture the entire plume, the shutter needs to be open for at least a second or more. This can be achieved in different ways according to your camera.
DSLR – Switch your camera to shutter priority mode using the large knob on top of your camera. On a Canon camera this will be “Av”, on Nikon, it will be “S”. You can then change the shutter speed by using the click wheel by the shutter button. Change the shutter speed to anywhere from 1-5 seconds depending on your needs.
Point and Shoot – Once again change to shutter priority if you have the option. If not, see if your camera has an option for long shutter speeds.
Cell phone – You will have to use an app for this unless your camera allows you to simulate shutter speed control. “Slow Shutter” is an app for iPhones that works well. Simply search for apps that allow you to change the shutter speed in your app store to find something that works.
Try, try again
Now start shooting! Keep trying different timing, different angles and different shutter speeds to get what you want.
Remember that you will have to do a lot of trial and error to get the shots you want. However, as long as you stabilize your camera, open the shutter up for a few seconds, and have everything framed up, you’ll find success if you stick with it.
Test out your photography skills and share your best photos or videos with us! You may be featured on our website! Click here to submit your own Backyard Hero picture!
Guest blogger Chauncey Huffman is an Assistant Professor of Graphics and Imaging Technologies at Pittsburg State University. He teaches classes on print file preparation, portrait and commercial photography, and color reproduction. View his professional photography online at rionhuffman.com.


